
How to Create WordPress Pages and Add Them to Your Navigation Bar
Before we dive into the steps, let's clarify a common misconception:
Who to create: This part doesn't apply. You, the website owner or administrator, are the one who will create the pages.
WordPress pages:These are static pages on your website, like an "About Us" or "Contact" page.
Navigation bar: This is the horizontal or vertical menu at the top or side of your website where visitors can navigate to different pages.

Creating WordPress Pages and Displaying Themes in the Navigation Bar
To display WordPress pages in your theme's navigation bar, you'll primarily interact with two areas:
1. Creating the Pages: This involves using the WordPress dashboard to create the content you want to display.
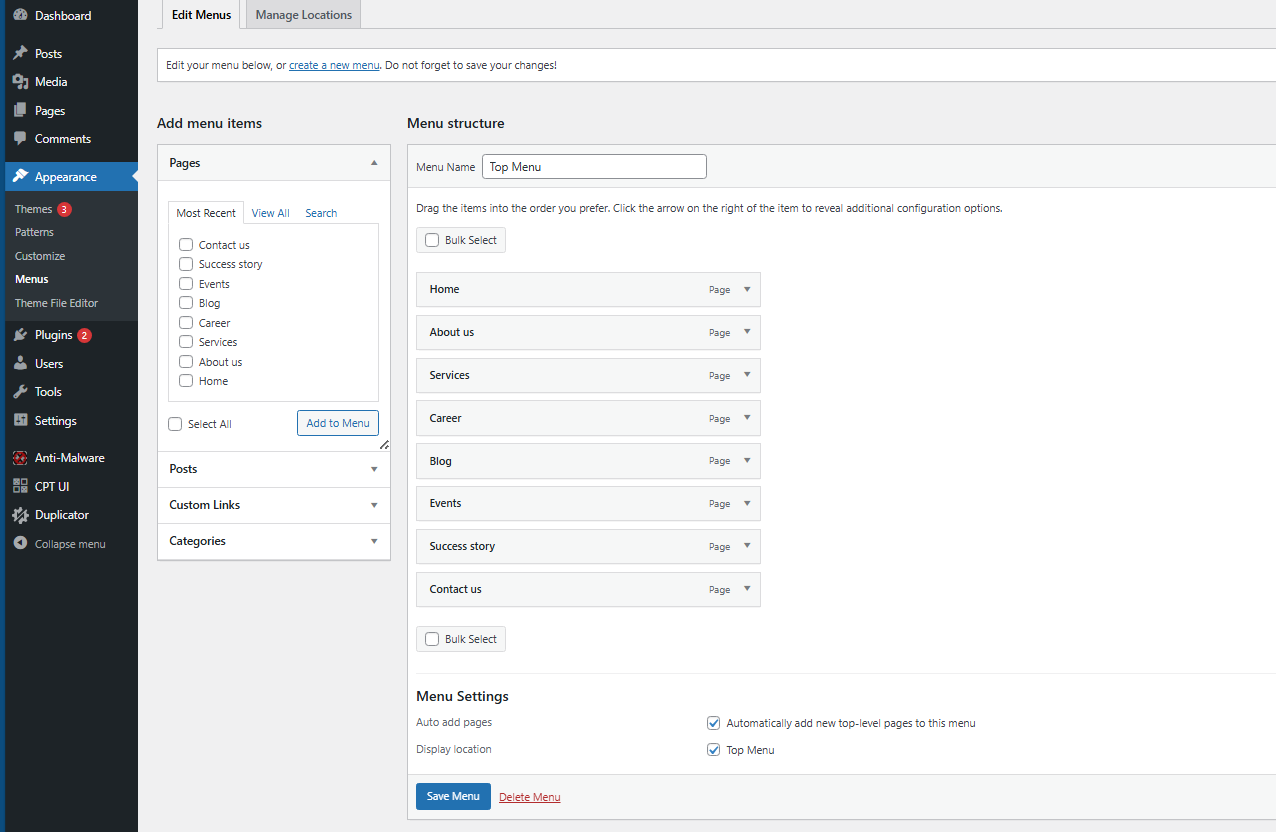
2. Adding Pages to the Navigation Menu:This involves using the WordPress menu management system to specify which pages should appear in your navigation bar.
3. Displaying the Menu in Your Theme: This involves using PHP code (specifically, the `wp_nav_menu()` function) in your theme's header or navigation template to output the menu.
Here's a step-by-step guide to creating and displaying a single-item menu in WordPress:
1. Create Your WordPress Pages

2. Enable the Menu Option in WordPress
3. Register the Navigation Menu
<?phpregister_nav_menus( array('primary-menu' => 'Top menu') );?>
4. Refresh the WordPress Dashboard

5. Create a Menu with One Item
6. Display the Menu in Your Theme
<?phpwp_nav_menu( array('theme_location'=>'primary-menu','menu_id' => 'primary-menu','container' => 'nav','container_class' => 'navbar-nav') );?>
Final Steps

Post a Comment